Kelli has been in the trucking industry since 2003. She got her start working in compliance for a trucking carrier that specialized in government freight. She has been the compliance manager with ATS since 2017.
Ahh, the despised pre-trip inspection.
Most drivers dislike them. Many overlook them completely.
Despite how much drivers dislike the pre-trip inspection they have to do every day, it’s an integral part of the job. A pre-trip inspection can be the difference between filling up a tire before you start driving or having a blowout on the road and potentially causing a dangerous accident.
A good pre-trip can also mean the difference between passing a Department of Transportation (DOT) inspection at a weigh station or receiving compliance, safety and accountability (CSA) points.
Just 15 minutes of your day can help prevent major accidents and prevent yourself from receiving safety points that can impact your standing at your trucking company.
So why are so many drivers rushing through them or skipping them altogether?
As one of the members of the safety team at Anderson Trucking Service (ATS), my role is to ensure our drivers are following safe practices to not only keep themselves safe but to ensure the safety of the motoring public.
I’ll explain why pre-trip inspections are so important, how often you need to be doing them and what can happen if you skip them.
When you finish reading, you’ll not only understand why you should never skip a pre-trip inspection, but you’ll also have a list of everything you need to check during your pre-trip.
Who Requires A Pre-Trip Inspection?
Pre-trip inspections are required by the Federal Motor Carrier Safety Association (FMCSA).
A pre-trip inspection consists of checking your truck and trailer to ensure it’s road-worthy and in good working order before you start driving.
A thorough pre-trip inspection should take between 10 and 15 minutes — if not longer as a new driver.
How Often Do I Need to Do a Class A CDL Pre-Trip Inspection?
You should do a pre-trip inspection before any wheel movement after you’ve been off duty. For example, if you’ve taken your 10-hour break, you need to do a pre-trip inspection before you start driving. If you stop at a truck stop to grab fuel and a quick meal, you don’t need to do a pre-trip inspection. (However, a quick look at the truck and your securements is recommended.)
That means every day you’re out on the road and moving, you should be doing a pre-trip inspection. Sometimes you might do more than one in a day. For instance, you may choose to do a split sleeper, where you split your 10 consecutive hours of off-duty time into two shifts. If you’re off-duty for three hours or more, you need to do a pre-trip before you start driving again.
You’re also required to do a post-trip inspection when you stop for the day to look things over and see if you should have anything fixed. Because you’re checking it out before your 10-hour break, you have some time to get it fixed before you plan to be back on duty.
The Consequences of Skipping a Pre-Trip Inspection
Pre-trip inspections are absolutely crucial, not just because they’re required by the FMCSA, but because they can prevent accidents, expensive roadside repairs or tows and CSA points.
Doing pre-trip inspections helps you catch a lot of potential problems before you encounter them on the road. There are minor things you can catch, like low windshield wiper fluid, and then there are major issues, like a low tire or a problem with the engine.
Imagine blowing a tire on the road or losing your brakes. That has the potential to cause a major accident. Even if no one is driving around you when it happens, you could get hurt and your truck could suffer major damage. If you do happen to cause an accident on the road and you didn’t do a pre-trip inspection, there may be unforeseen consequences.
Failing to do a pre-trip inspection can also lead to a costly roadside repair. There’s an issue you may encounter on the road that could’ve been prevented had you completed your pre-trip. If you have to pull over, you may need to wait hours on the side of the road for a road service repair technician or a tow. You’ll be paying a set roadside fee for the service, an hourly rate for the technician to drive to and from your location and mileage. Due to labor shortages arising since the pandemic, you may be waiting hours on the side of the road.
Not only will it eat a hole in your pocket, but it’ll also eat away at your clock. You have to remain on duty even when you’re parked on the side of the road. Not only that but parking on the side of the road also increases your risk of becoming involved in a crash/getting hit. All of this can be prevented if you do your pre-trip and fix any issues before getting on the road.
Drivers who are caught skipping their pre-trip inspection will get CSA points. Failing to conduct an inspection results in a four-point violation. To give you some perspective, the highest violation you can get results in 10 points, so a pre-trip inspection violation carries some weight.
Those CSA points will follow you for three years and they’ll show up on your pre-employment screening. Companies review this before hiring you and if your CSA points are too high, you could fall outside their hiring guidelines.
You might be wondering how you can get caught by DOT inspectors. If you get pulled over at a DOT-operated weigh station, they’ll review your electronic logs. You should log your pre-trip inspections as on duty. If you’ve only logged a couple of minutes, they know you didn’t do a proper inspection.
You may also get hit with additional CSA points for maintenance issues on your truck. Each violation usually ranges in CSA points from two to six points. If you have a brake light out, you’ll get six points. If a marker light is out, it’s a two-point violation. Brake violations are four points. Issues with your tires can be upwards of 10 CSA points.
The number of points rises with the severity of the issues found. While things sometimes do just happen, DOT inspectors have heard it all. Your light may very well have just gone out, but far too often lights are out because a driver didn’t inspect their truck before they started driving. You should always do a quick walk around every time you get in your truck to start driving.
Pre-Trip Inspection Checklist
There’s no particular order you need to check each of these items. You just need to make sure you’re checking everything. A good practice is to begin at the front of your vehicle and move around the vehicle from front to back and then back to front on the other side. You should start the truck, run it for a few minutes, shut it off and then start the inspection.
Remember this checklist next time you’re doing your pre-trip. Essentially, if it holds air or fluid, check for leaks. Make sure all bolted-on items are properly mounted and secured.
Front of Vehicle
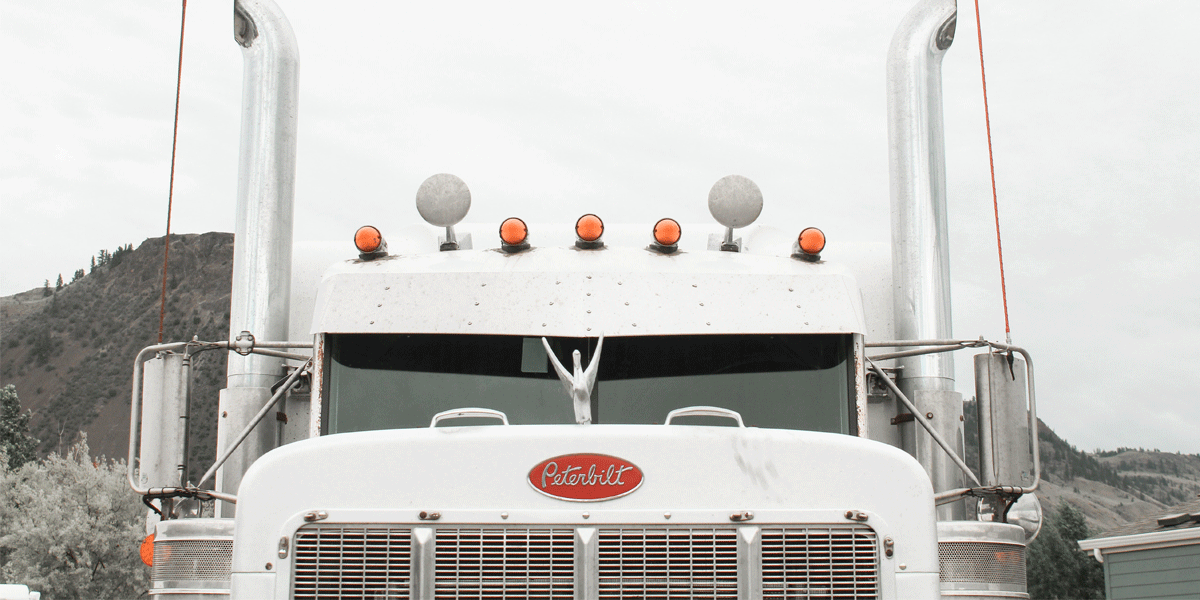
- Lights: All lights should be intact, not damaged and functioning properly. This includes high beams, headlights, exterior maker lights and turn signals.
- Leaks: Look for signs of leaking fluid, such as puddles under or near the truck.
- Lean: Ensure the truck isn’t leaning left or right. It should sit level.
Engine Compartment
- Fluid Levels: Check oil, coolant levels, power steering levels and windshield washer fluid.
- Air and Water Hoses: Check for any leaking and listen for air leaks from hoses.
- Alternator Belt/Wires: Ensure there are no cracks, splits or excess play. It should be tight and in good condition.
- Steering Linkage/Components: Look for excess play at the joint. Follow the link of components from the steering wheel to the tires and make sure everything is in good condition.
- Steer Axle: Look at leak springs and airbags (if it’s equipped with them). Look at the shocks and shock absorbers to ensure they’re attached and not leaking. Look at the front axles and brake pads and make sure they’re the proper thickness with no cracks.
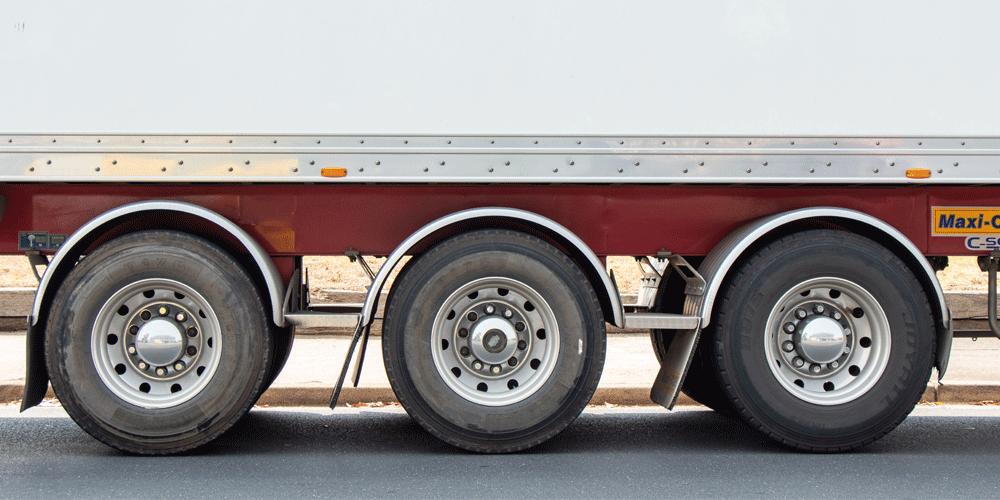
- Wheel Assembly: Look at the rims to make sure they’re in good condition. Make sure the lug nuts and hub caps are in place and not loose. The tires should be properly inflated, in good condition and have the proper tread depth. Go around the entire vehicle and check every truck for those three variables.
Driver Side/Fuel Area
- Door and Mirror: Make sure they’re functioning properly, they aren’t damaged and they latch in place.
- Fuel Tank: Ensure the cap and seal are in place and no diesel is leaking out.
- Catwalk/Steps: Ensure the catwalk is attached to the vehicle and is intact.
- Lights: Make sure the turn signals on the side of the truck are working.
Under Vehicle
- Drive Shaft: Make sure there is no excess play and the overall condition is good.
- Exhaust: Make sure there are no holes in the exhaust system.
- Frame: Check for any bends or cracks that could indicate bigger issues.
- Drive Axles: Check the suspension, airbags brakes and wheel assembly again to ensure everything looks to be in good working order from a different angle.
Rear of Vehicle
- Mudflaps: These should be in place and have reflectors on them.
- Lights: Ensure your brake lights, turn signals and marker lights are working.
Coupling System
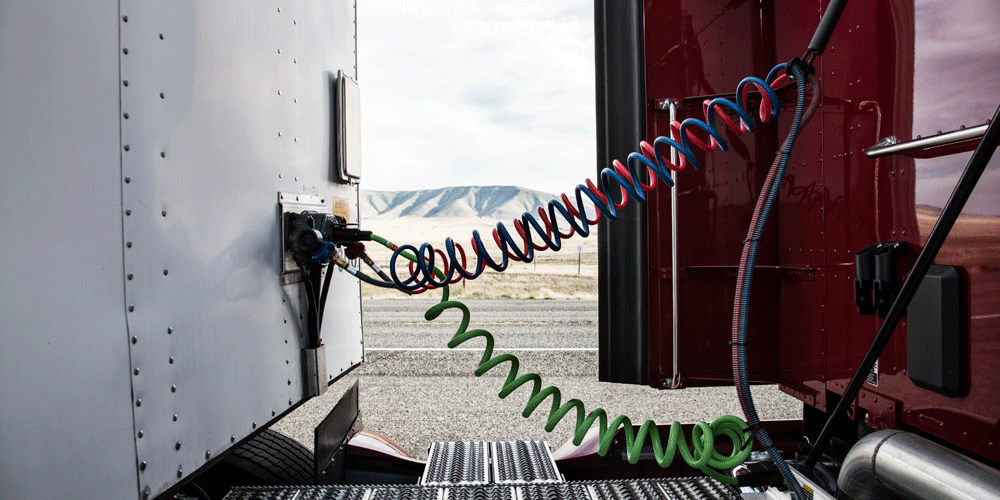
- Air/Electrical Lines: Make sure the air lines and electrical lines are connected from the back of the truck to the trailer. Listen for leaks and ensure the glad hand seals are in good condition.
- Fifth Wheel: Make sure the fifth wheel is attached to the trailer, the lock arm is in the locked position and the lock pins are wrapped around the kingpin.
Trailer
- Headboard: If your trailer is equipped with one, make sure the headboard is in good condition.
- Front Lights/Reflectors: Make sure the lights work and are the proper color.
- Landing Gear: Ensure your landing gear is in good condition and functioning properly. It should properly lower and raise when turned.
- Cross Members: Horizontal floor supports should be in position and not damaged.
- Side Lights/Reflectors: Lights should be in place, undamaged and functioning properly.
- Tandem Slide/Release Arm: If equipped, make sure they’re in place and properly locked to the trailer.
- Trailer Axle: Check the trailer axles and look at the suspension and airbags to ensure everything is in good working order. Check the brakes, wheel assembly and tires.
- Back of Trailer: If you’re driving a van, make sure the door closes and latches properly. Check the mudflaps on the trailer as well as the rearmost lights, brake lights, turn signals and marker lights.
In-Cab
- Seat Belt: Make sure the seat belt works properly.
- Safety Equipment: Make sure you have all the safety equipment you need and that it’s working. This includes a fire extinguisher, emergency triangles and an extra set of fuses.
- Heater/Defroster: Make sure both the heat and cooling systems work.
- Wipers: Make sure the wipers are in good condition and functioning and that you have washer fluid.
- Turn Signal Indicators: Ensure your turn signals are functioning both inside and outside the vehicle.
- ABS Light: Make sure the ABS light comes on during engine start-up and then goes off once the vehicle is running.
- Gauges: Check oil, air and water gauges to ensure they’re in the proper range or voltage.
- Horn: Make sure the city horn and air horn function.
- All Glass: Make sure your windshield and mirrors are clean and free of cracks.
Three-Step Air Brake Test
You should ensure that your brakes are always in adjustment. You can do this with a three-step air brake test. Once the vehicle is at full air capacity, turn it off. Then, turn the ignition to the on position, press the brake and release both parking brakes. Hold the brake for one minute and watch the air gauges to make sure they hold the proper pressure. If pressure continues to decrease, you have a leak. It should hold steady pressure.
Once you confirm you aren’t losing more than four pounds of pressure in a minute, fan the brakes to 60 PSI. Continue pumping the brakes until you see both brake valves pop at about 20 PSI.
You should complete 10 full brake applications while your truck is parked.
Prevent Accidents
It can be tempting to skip out on pre-trip inspections or to speed through them, but doing so is not only against FMCSA regulations, it’s also incredibly unsafe.
The more you do these inspections, the more familiar they’ll become to you. It’ll become habit and you’ll know what you’re looking for. They may become easier for you and you may be able to do them a bit quicker than you could previously.
When you catch a light that’s out or a low tire, you’ll be happy you took the time to check your truck. You’ll also be doing your part to help reduce accidents on the road.
These safe driving practices can also help you prevent accidents out on the road.


